ES3D in five minutes
ES3D turns your drillholes, surfaces and the models you already built into a cinematic, shareable investor story — entirely in the browser. Nothing to install; your data stays yours.
What it does
Three ideas carry the whole product:
- Assemble. Import collar, survey, assay and lithology CSVs, every common GIS format, terrain, geophysics — and the models you already built in Leapfrog, Micromine or Vulcan. ES3D presents your interpretation; it does not replace the software you made it in.
- Present. Save the views that matter as scenes and play them back in Present mode — a full-bleed story with narrative cards, chapters, narration and compliance furniture built in.
- Share. Send a read-only link (optionally PIN-protected and expiring), embed the story on a website, drive it live to an audience, or export stills, movies, PowerPoint decks, DXF surfaces and audit records.
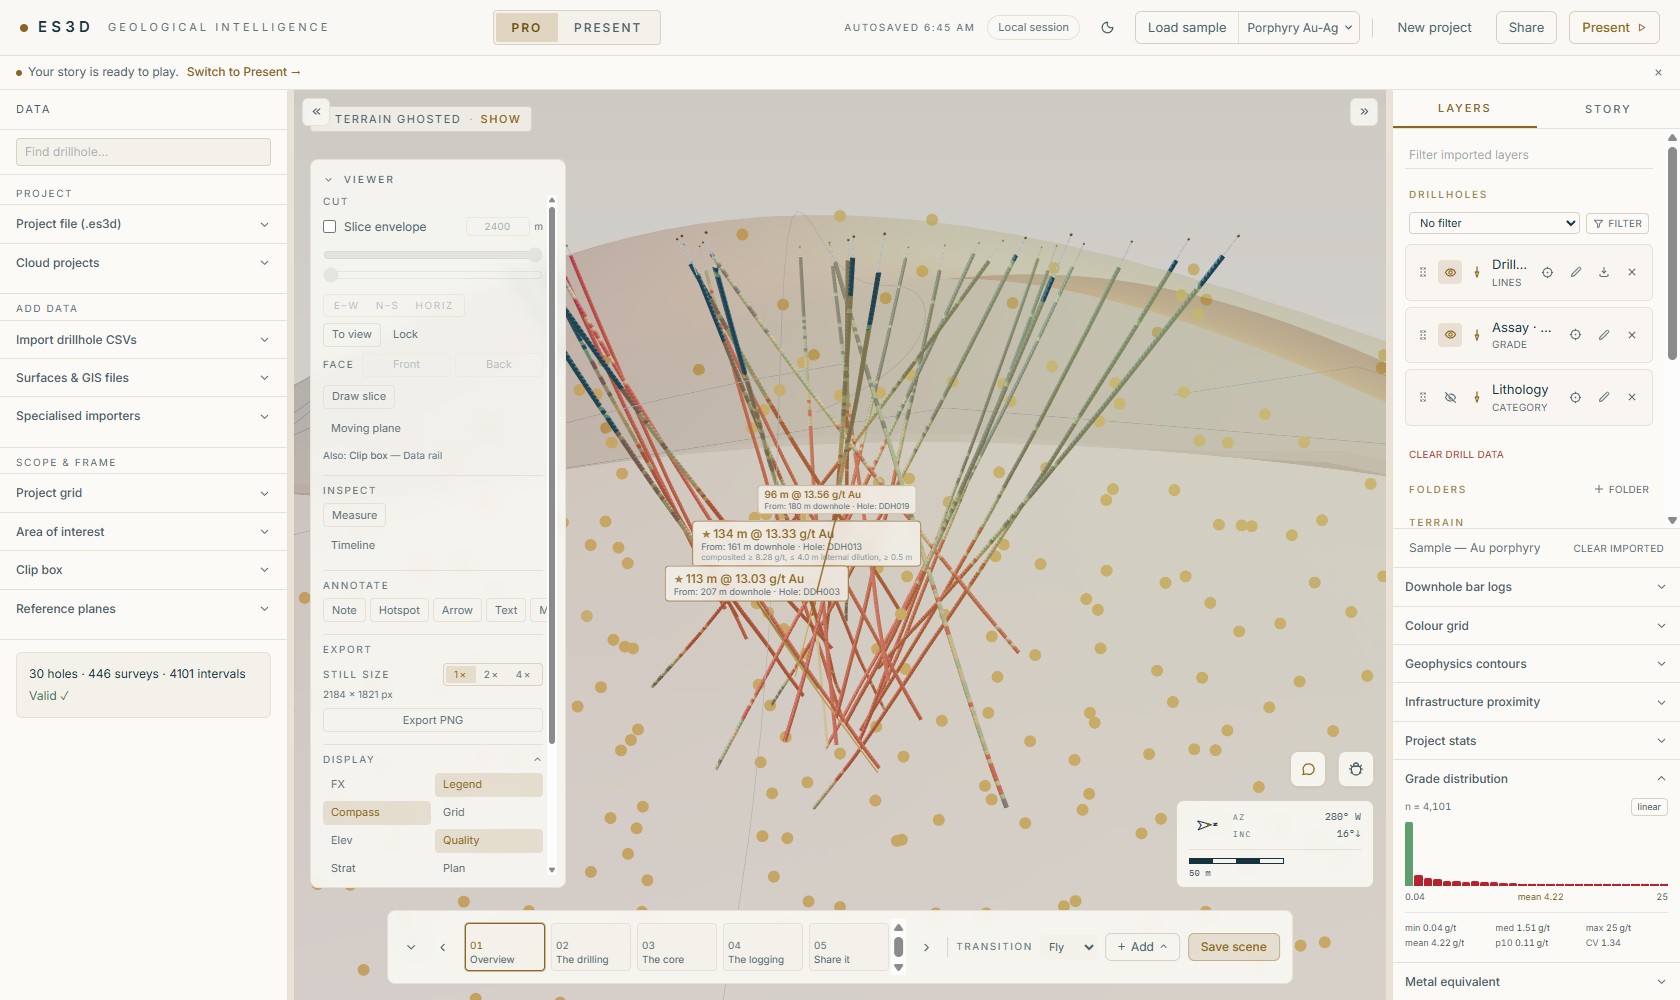
The interface at a glance
ES3D has two modes over one project, switched from the centre of the top bar:
- Pro — the technical workbench. Left rail = the Data panel (import, project file, grid & frame). Centre = the 3D canvas with the draggable Viewer tool card. Right rail = the Inspector: Layers (the scene tree and its display controls), Story (the scene editor).
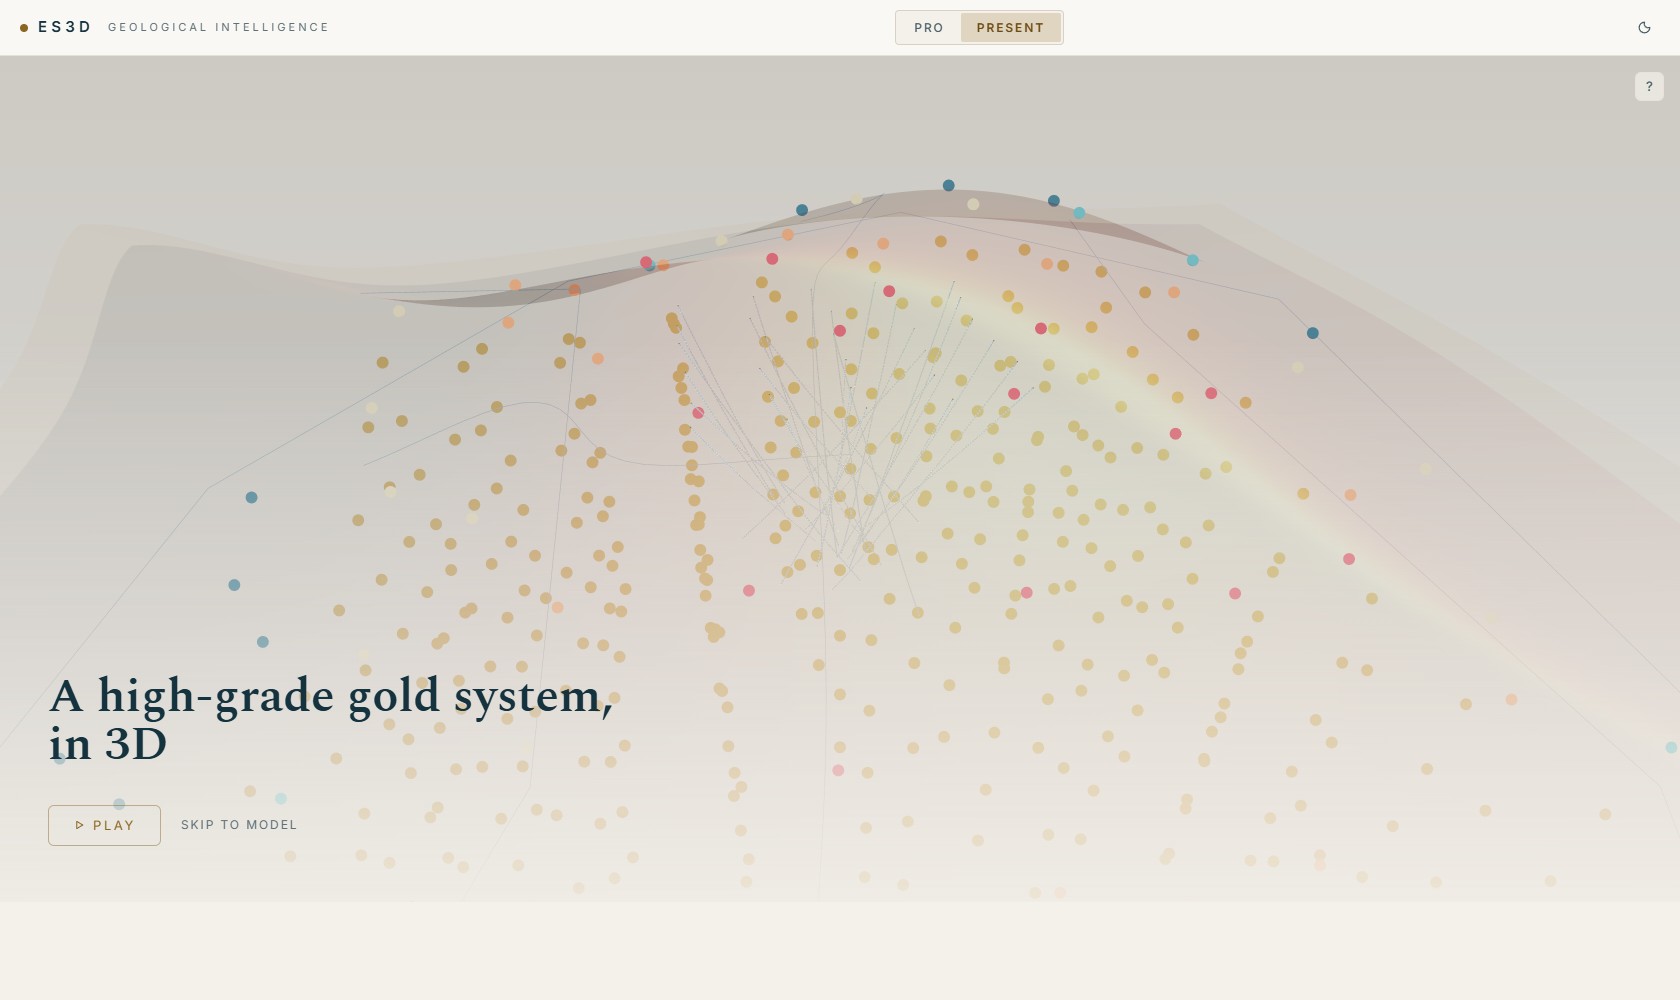
- Present — the investor surface: cover card, scene rail, narrative overlays, compliance strip. Reached with the gold Present ▶ button once your story has scenes.
Almost everything is reachable from the keyboard: press Ctrl+K to search layers, holes, scenes, panels and shortcuts in one box, and ? for the full gesture and shortcut legend. Details in The interface.
Your first session
- Open ES3D.
Go to exploration.rocks. First visit shows a live intro over an auto-orbiting deposit — pick Explore the deposit (or replay it any time with
?intro=1). - Load a sample deposit.
In the top bar, choose a deposit from the picker — Porphyry Au-Ag (30 holes), Narrow-vein Au (16 holes, high nugget) or Early-stage Cu-Au (6 holes) — and press Load sample. The deposit loads in front of you.
- Move around.
Drag to orbit · scroll to zoom · wheel-button drag to pan · double-click to recentre. Terrain auto-ghosts so the subsurface reads first; the Terrain ghosted · Show chip brings it back.
- Cut a slice.
On the Viewer card, tick Slice envelope and drag the near/far sliders, or press Lock to keep the cut facing you as you orbit. See Slicing & viewing tools.
- Bring in your model.
Drop a DXF, OBJ, OMF, Leapfrog mesh or block-model CSV onto the canvas. Your grade shell, wireframe or lithology solids arrive as layers you can slice, colour and put in a scene. See Importing data.
- Save scenes.
Frame a view you like and press Save scene on the bottom rail (Ctrl+B). Each scene is a beat in your story — add a headline and narrative in the Story tab.
- Present it.
Press Present ▶. Cover card, auto-play, chapters, narration — your audience can orbit at any time and one click returns them to your framing.
- Share it.
Share in the top bar mints a read-only link — add a PIN, an expiry, your branding, or an
<iframe>embed. Recipients explore; they never edit.
Working with your own data
The left Data panel imports drillhole CSVs (collar + survey required, assay and lithology optional) through a mapping wizard that auto-detects columns and shows an honest validation readout. Drop GIS files — GeoJSON, shapefiles, MapInfo TAB, GeoTIFF, DXF, OBJ/PLY/GLB, OMF, GOCAD TSurf, Leapfrog meshes and more — anywhere on the canvas. Ambiguous files get one clear question about how to read them, never a guess. Full walkthrough in Importing data.
Go deeper
- The interface Modes, panels, the top bar, keyboard & command palette.
- Importing data Drillhole CSVs, every GIS format, CRS, crops and clip box.
- Drill data Traces, assays, intercepts, bar logs, filters and stats.
- Geophysics & analysis Contours, colour grids, metal equivalents, proximity, statistics.
- Slicing & viewing tools Slice, measure, annotate, display effects, shortcuts.
- Colour, legends & filters The scene tree, classification, legends and query filters.
- Stories & sharing Scenes, Present mode, share links, embeds, going live.
- Exporting Stills, movies, decks, DXF and audit records.
- Projects & files .es3d bundles, cloud projects, autosave, sign-in, trust.